Web Portal
Overview
Our secure web portal provides a user-friendly interface for uploading, managing, and retrieving analysis reports. This guide walks you through the main workflows, illustrated with screenshots to help you get started quickly.
Key Benefits
- Intuitive Interface: Clean, responsive design for desktop and tablet.
- Secure Access: Enforced via OAuth2 with MFA options.
- Fast Uploads: Drag‑and‑drop upload of DICOM studies.
- Real‑Time Status: Live progress indicators and notifications.
- Comprehensive Reporting: View and download analysis results in multiple formats.
Getting Started
-
Access the Portal
Navigate to your assigned URL.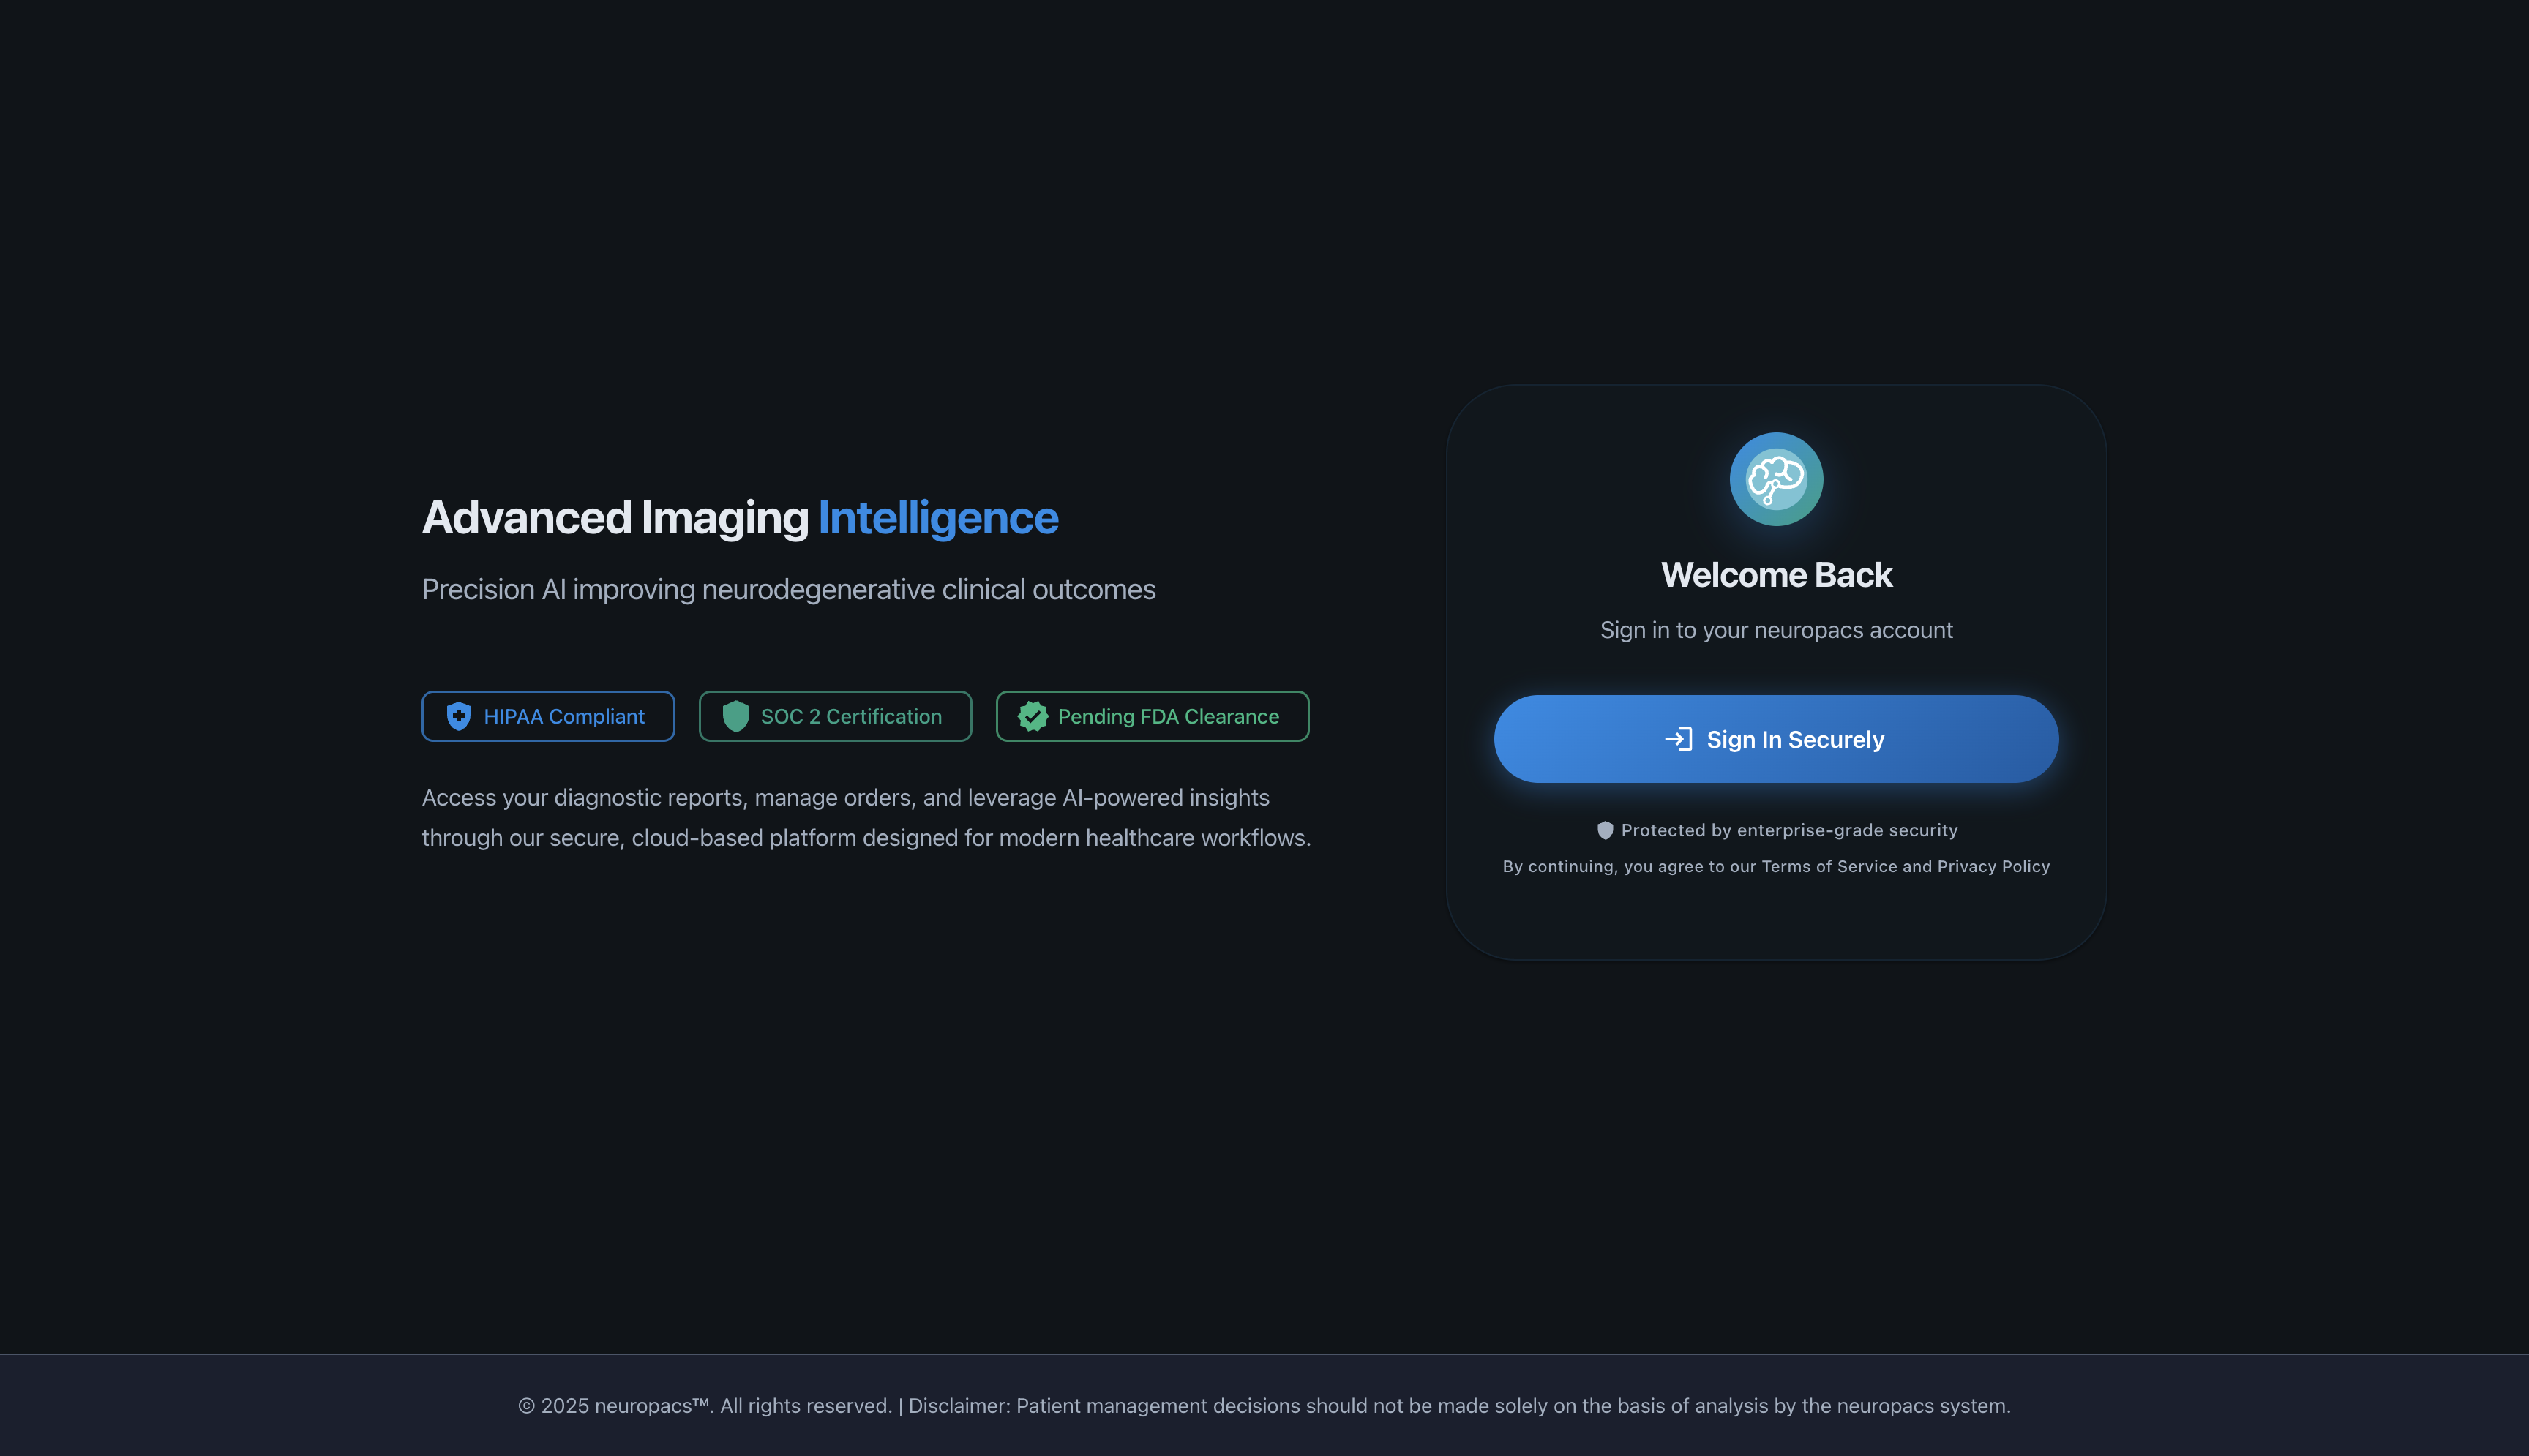
-
Orders Page
Navigate to the orders page.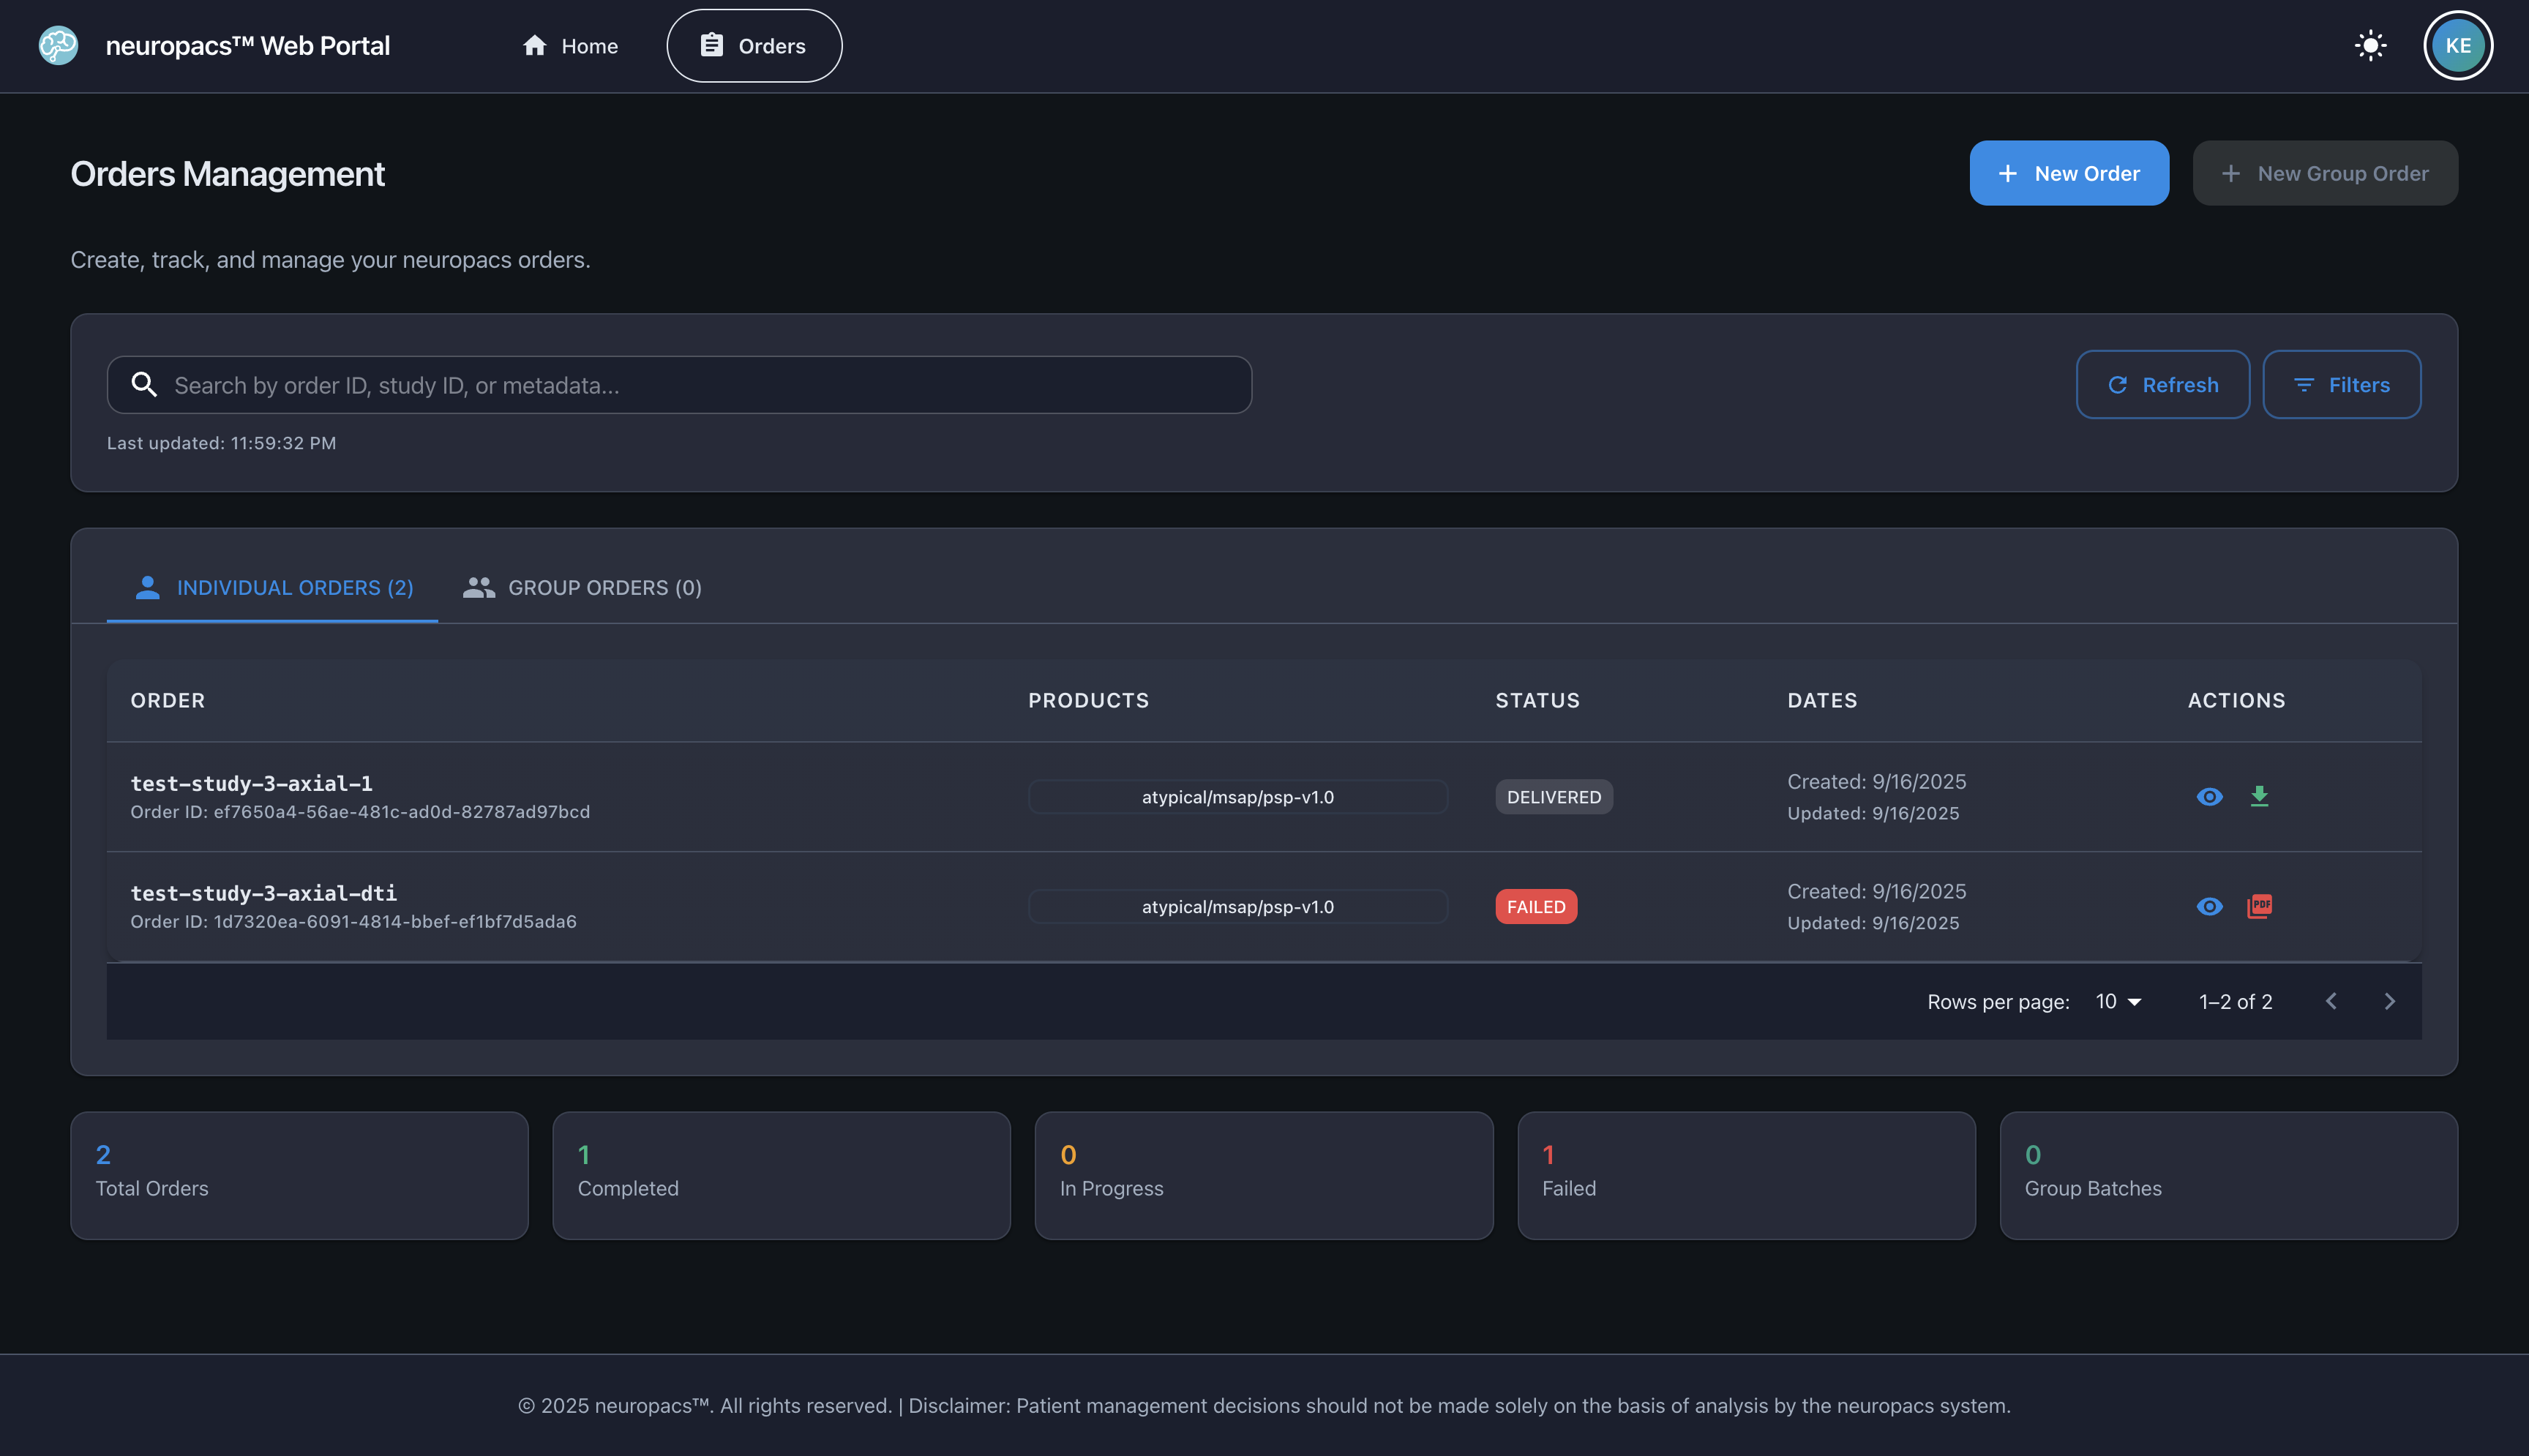
Uploading Individual Orders
- Click New Order in the Orders page.
- Provide a unique study identifier, along with the patient's age (in years) and biological sex. Select the neuropacs product(s) to run on your study.

- Choose your upload format (DICOM folder, ZIP file, NIfTI volume).
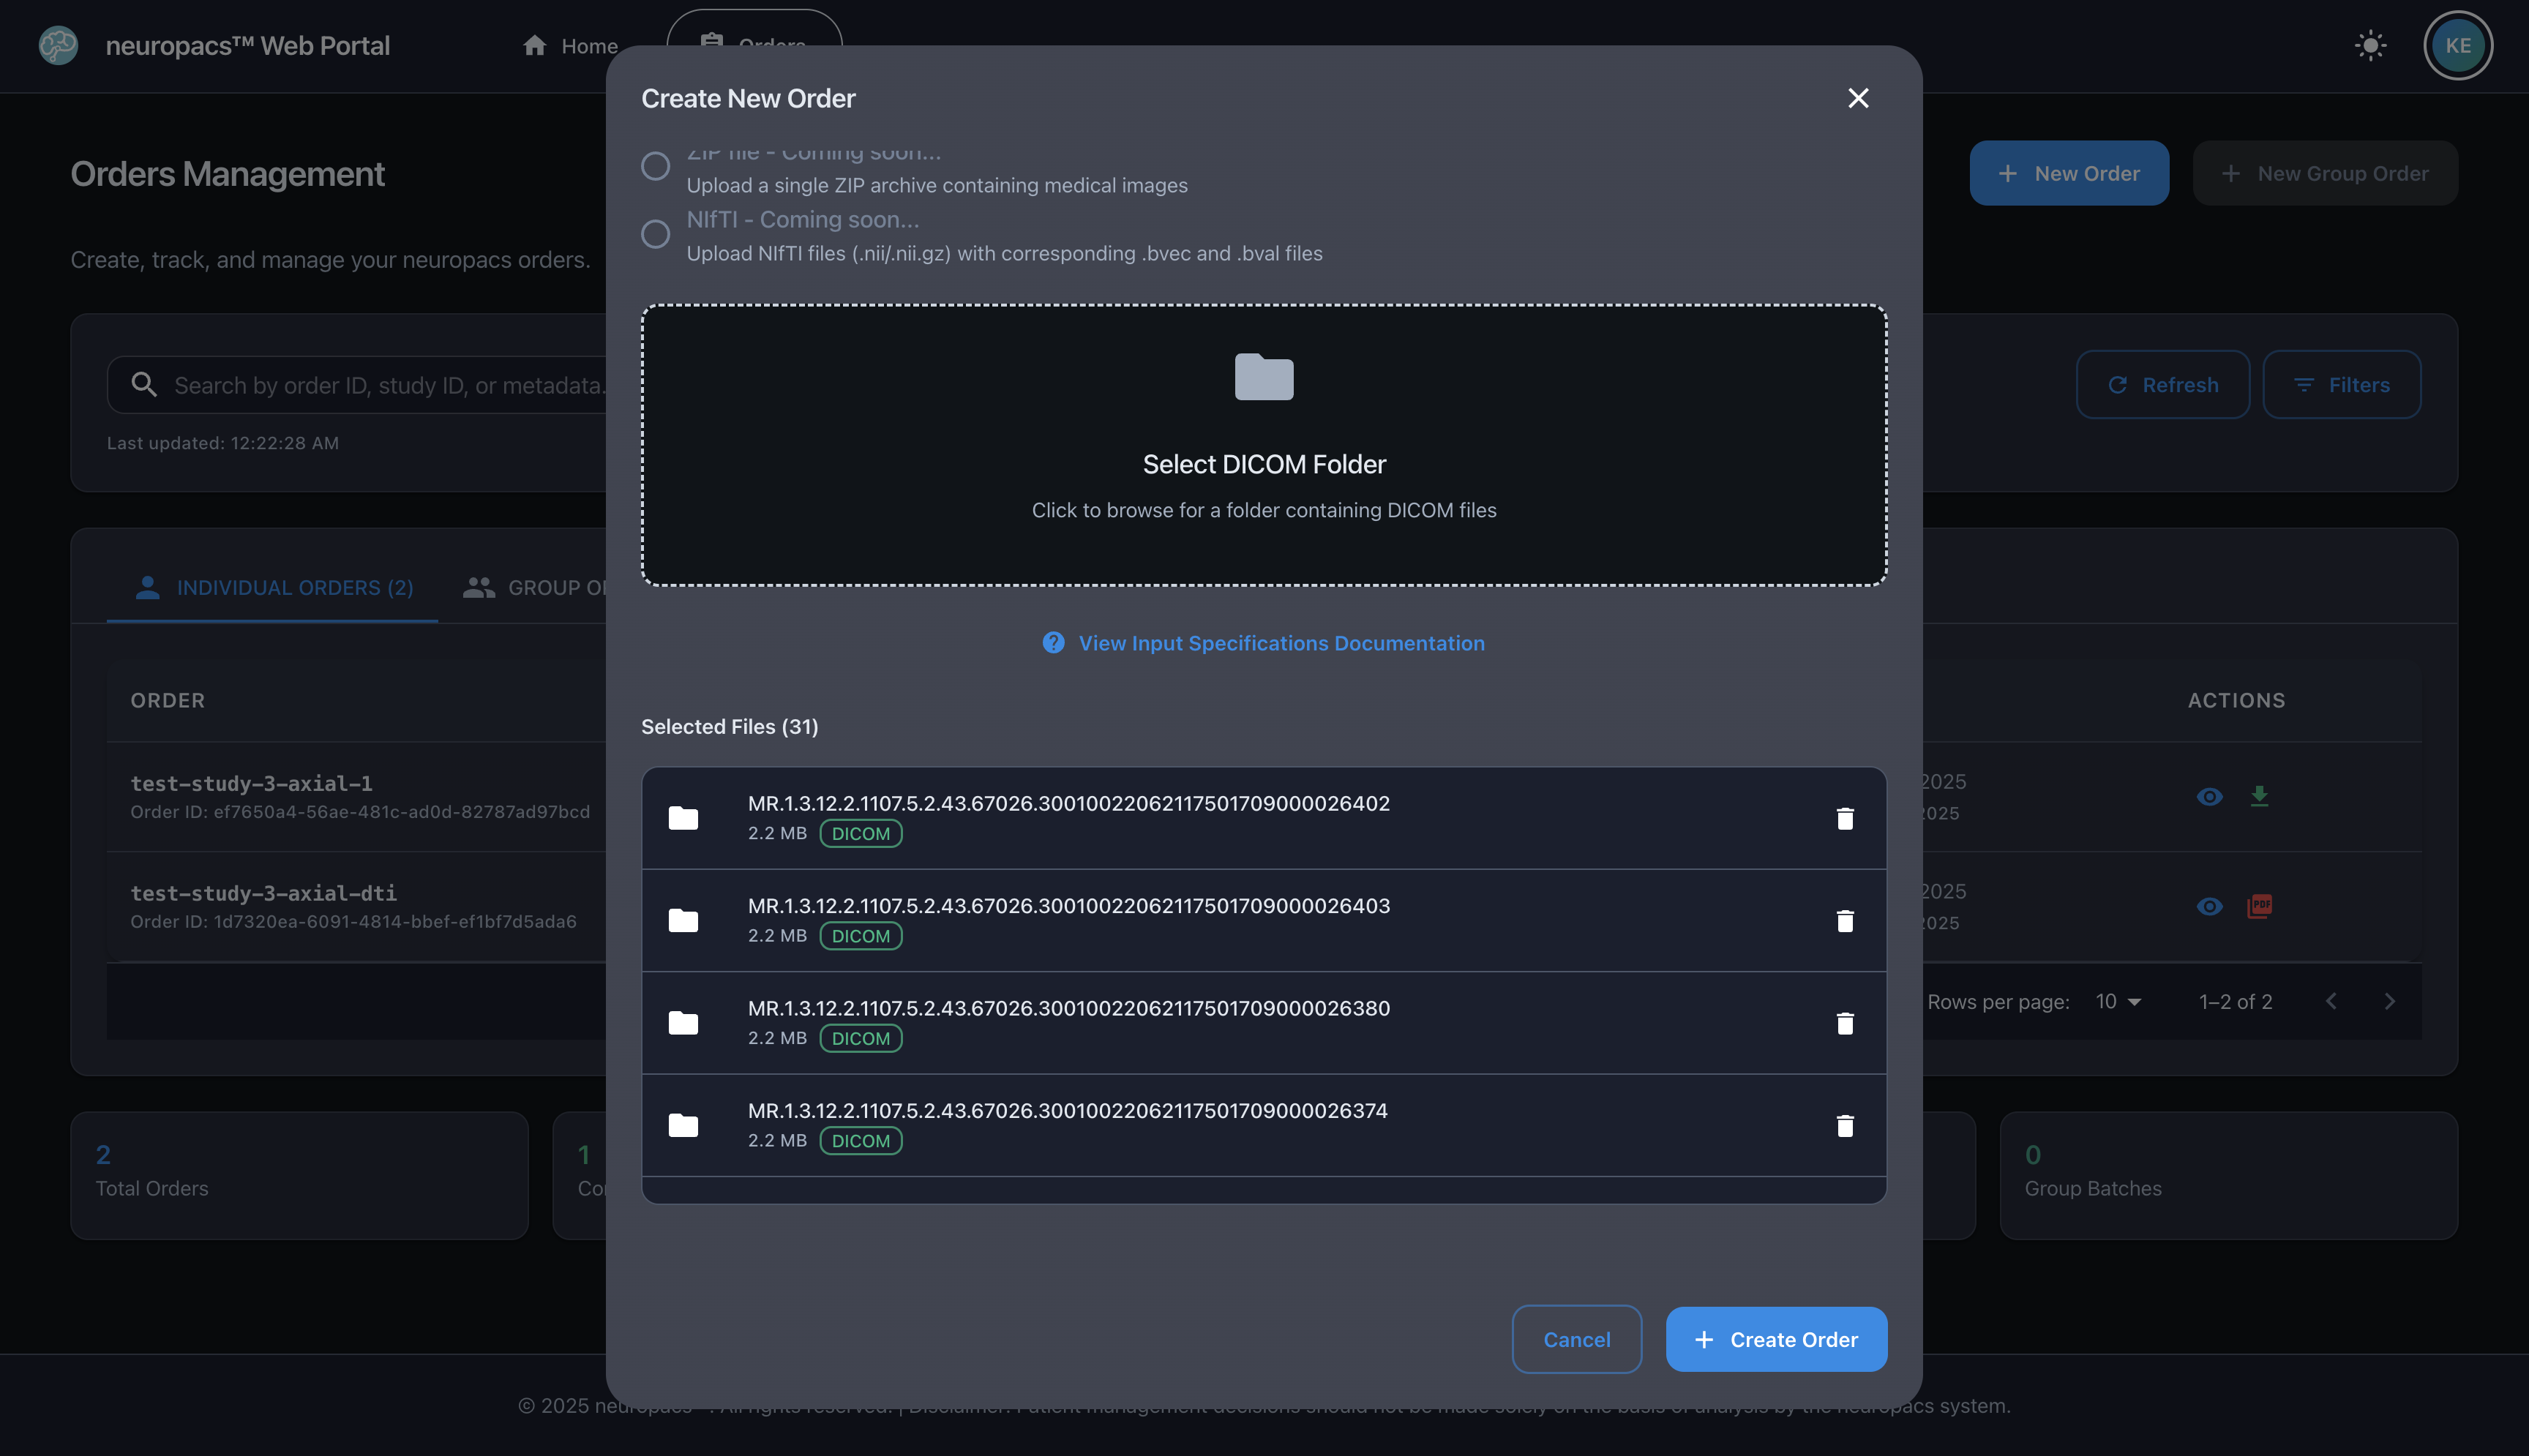
- Tip: Select "View Input Specifications Documentation" to view see technical requirements for imaging.
- Tip: See files queued for upload in the "Selected Files" menu. You can remove files prior as needed before upload.
-
Monitor the upload progress bar.
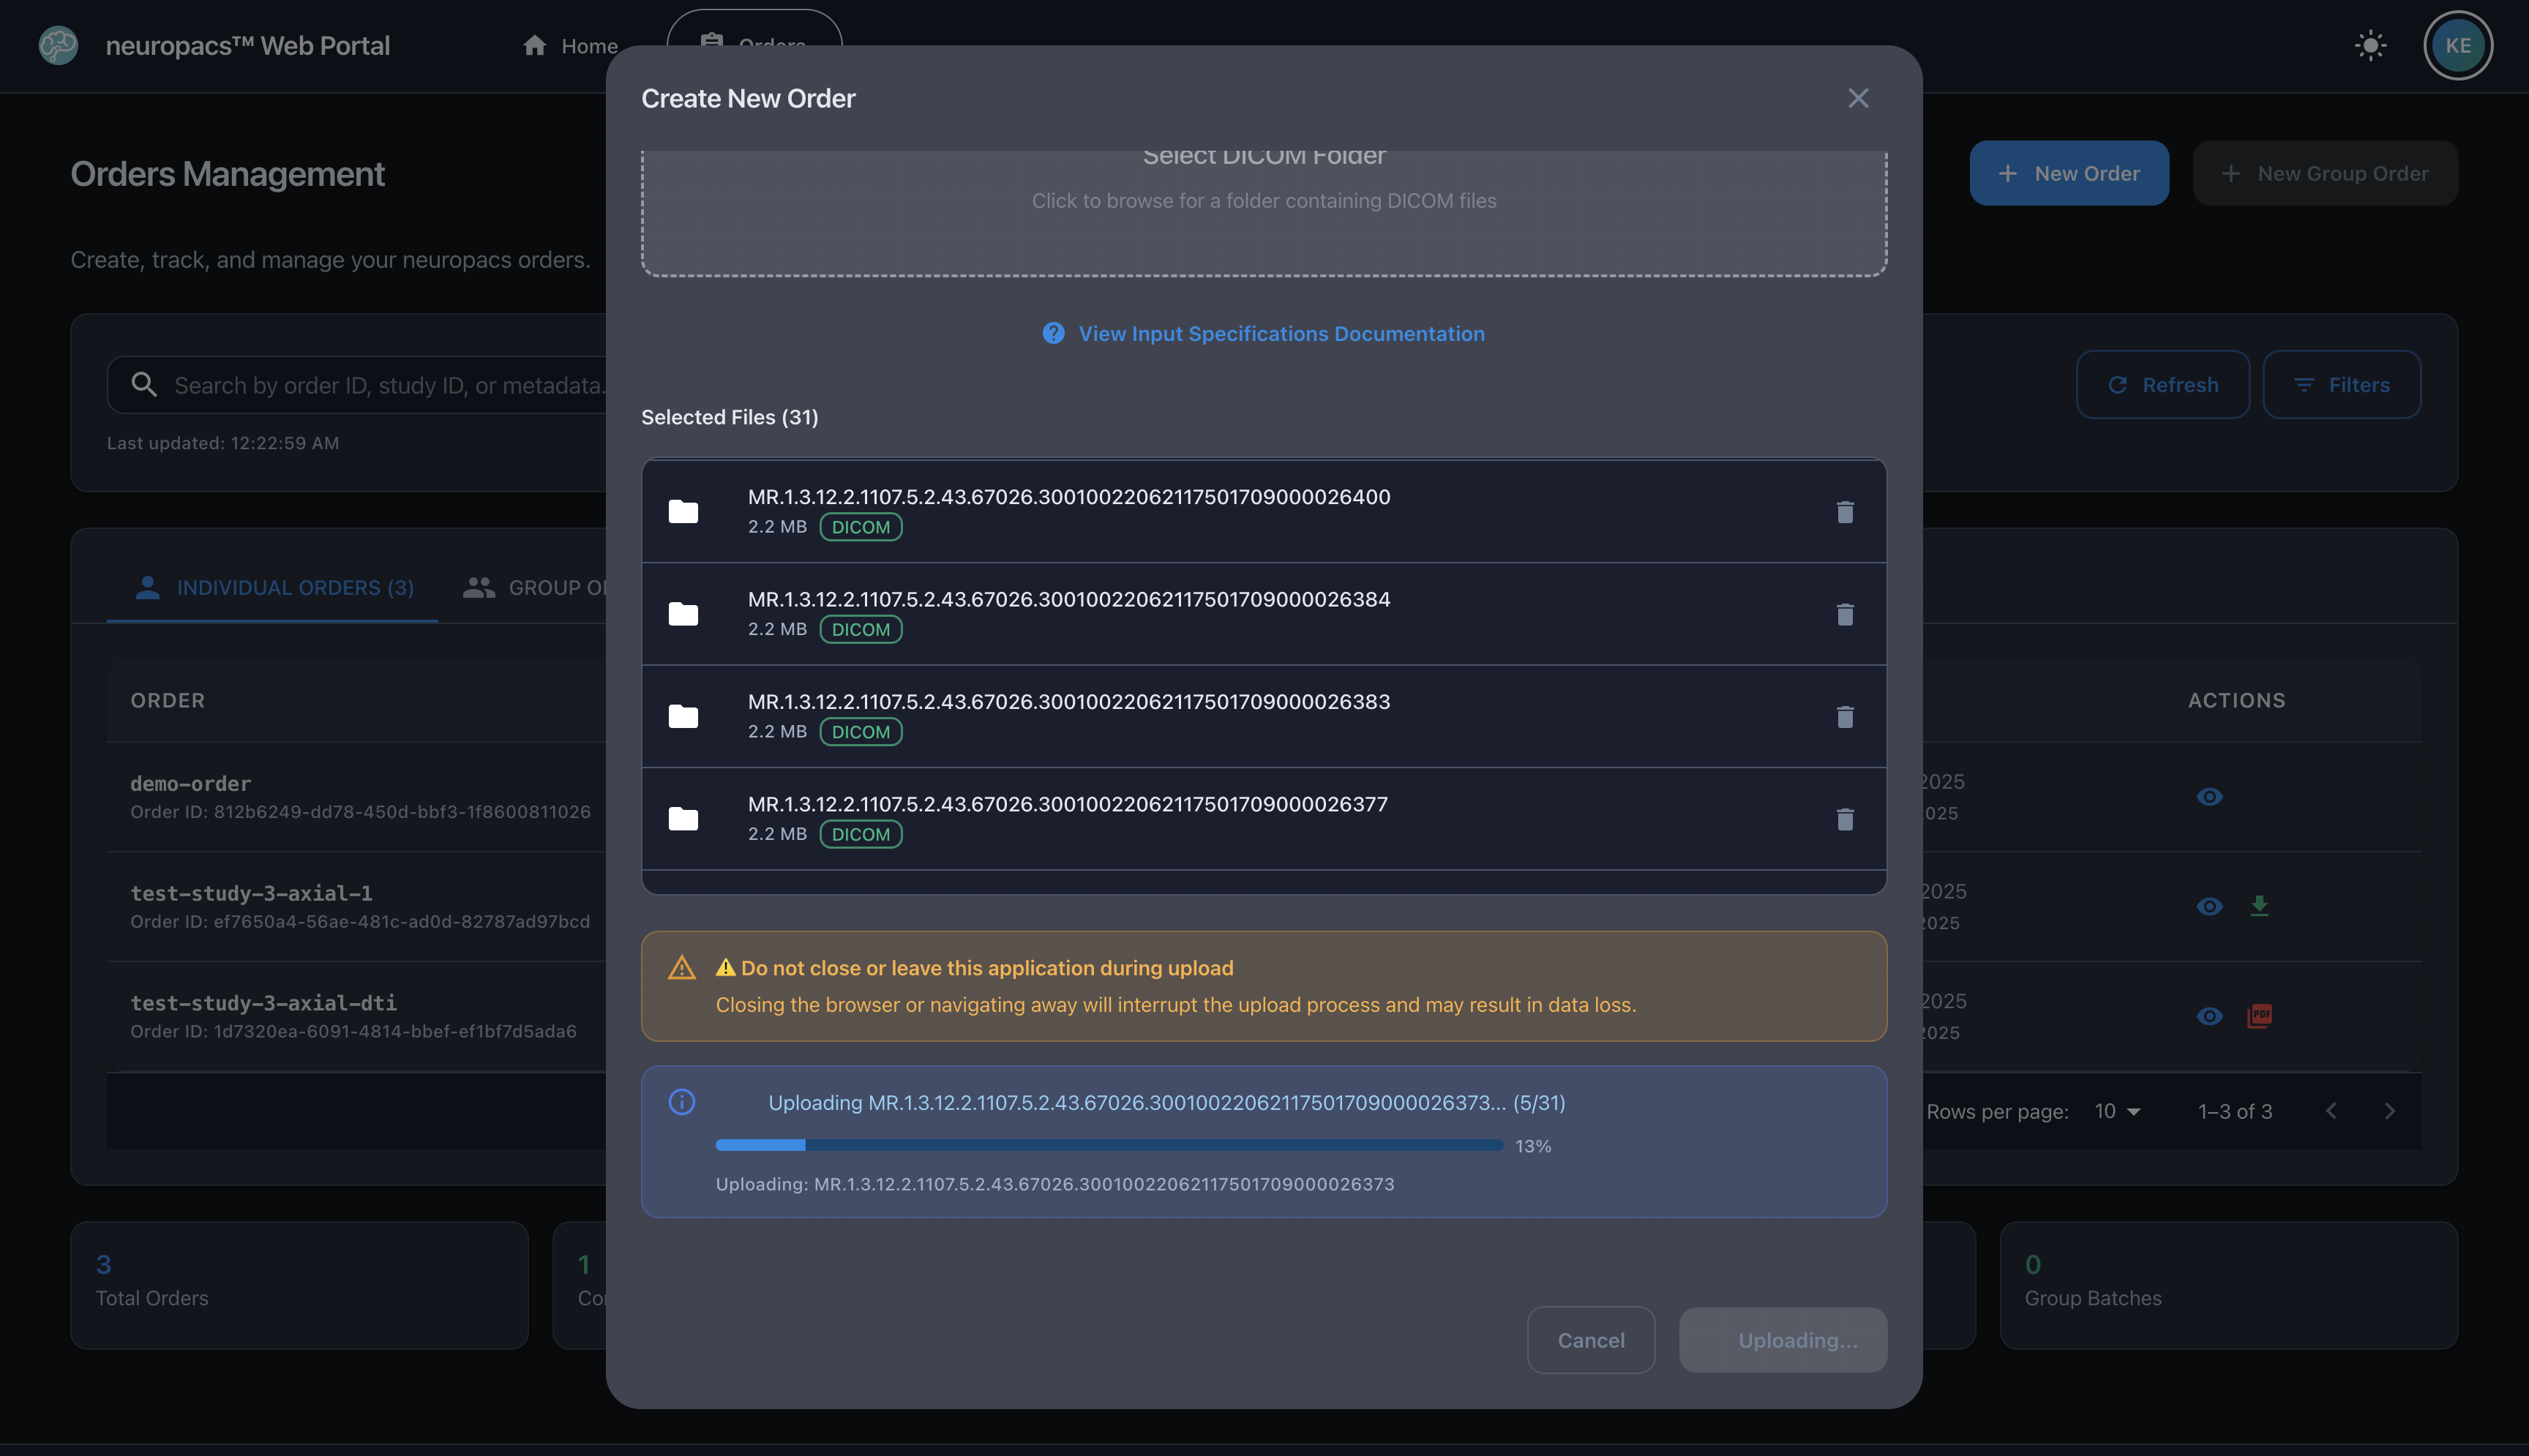
- Tip: Do not close or leave the web portal during an upload sequence.
-
Upon completion, your order will be initiated and appear in the Orders table immediately.
Troubleshooting
-
Upload Errors
- Check network connectivity and retry.
- Contact support if issues persist.
-
Authentication Issues
- Authentication sessions expire after 1 hour.
- Contact support if you’re locked out.
Tips & Best Practices
- Use a wired connection for large uploads.
- Regularly review your orders to stay on top of processing.
Last updated: September 17, 2025